 Add Row
  Add
Add 

Enhancing Safety: Your Step-by-Step Guide to Non-Slip Tile Installation
Are you tired of worrying about slips and falls in your home? Installing non-slip tiles not only enhances safety but also amplifies the aesthetic appeal of your living spaces. In this DIY guide, we will cover everything you need to know about non-slip tile installation in Toms River, helping you to transform your home into a slip-resistant haven.
Why Non-Slip Tiles Are Essential
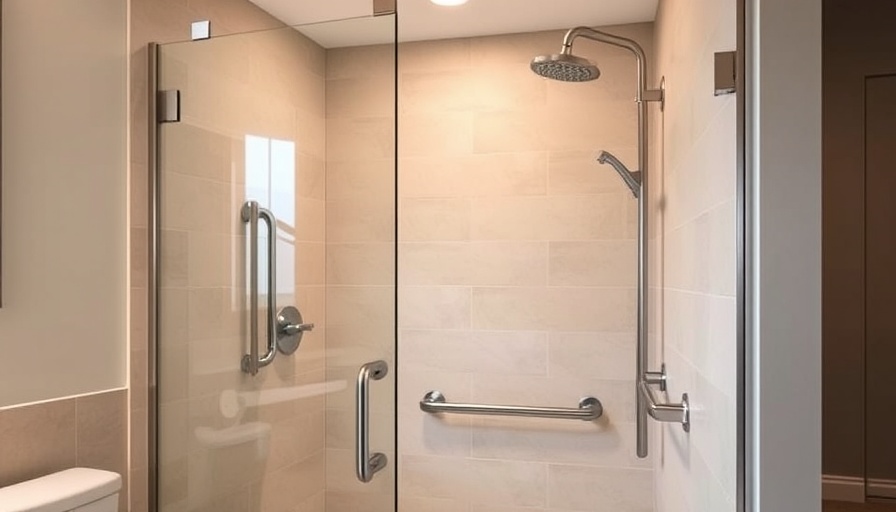
With the ongoing focus on safety at home, non-slip tiles have emerged as a favored choice for both residential and commercial settings. Whether you're renovating your bathroom or updating your kitchen, understanding the nuances of non-slip tile installation is crucial in creating safe environments. According to safety data, over 1 million people visit emergency rooms each year due to slip-related injuries, emphasizing the importance of preventative measures. Non-slip tiles not only provide traction but also significantly reduce the risks associated with falls.
Choosing the Right Non-Slip Tiles
When it comes to selecting non-slip tiles, several factors come into play. The texture and material of the tiles greatly impact their effectiveness. Opt for tiles with a higher coefficient of friction, as they provide superior traction even when wet. Popular materials for non-slip tiles include porcelain, ceramic, and natural stone. Each type has unique characteristics that can complement your design aesthetic while enhancing safety.
Additionally, tile size and pattern can influence slip resistance. Larger tiles may have fewer grout lines, which can help minimize slipping hazards, while textured patterns can provide added grip. Exploring different options and sampling materials can ensure you find tiles that not only meet safety standards but also align with your interior design ambitions.
Preparing Your Space for Installation
Preparation is key for any successful tile installation project. Start by measuring your space accurately, paying attention to any irregularities in the layout. Clear the area of furniture, debris, and any existing flooring. Cleaning the surface where the tiles will be installed is essential to ensure proper adhesion. Consider leveling the subfloor for an even base, which contributes to a seamless installation.
Gathering the right tools is equally important. You’ll typically need a tile cutter, trowel, level, and grout float. It's advisable to have high-quality thin-set mortar and grout specifically designed for non-slip tiles. Planning ahead not only streamlines the installation process but also minimizes delays.
The Installation Process: A Step-by-Step Approach
Once your space is adequately prepared, it's time to embark on the installation. Begin by mixing your thin-set mortar in line with the manufacturer's instructions. Use a notched trowel to apply the mortar to a small section of the floor, ensuring an even coat. Lay your first tile firmly, twisting slightly to promote adhesion.
As you continue laying tiles, remember to use tile spacers to maintain consistent gaps for grout. This step is crucial for ensuring a professional finish and preventing lippage issues. Frequently check the level of each tile and make necessary adjustments as you go. After all tiles are laid, allow the mortar to cure for the recommended time—usually around 24 hours—before proceeding with grout application.
Choosing the Right Grout for Longevity
Once your tiles are laid and set, the next step is applying grout. Selecting a high-quality grout that complements the chosen tiles is vital. Not only does it enhance the overall appearance, but grout also plays a significant role in maintaining the slip-resistant properties of the tiles.
Consider opting for an epoxy grout, as it is non-porous and prevents moisture buildup between tiles, which could lead to mold growth over time. Ensure you apply the grout evenly within the tile spacers, using a grout float to pack it in tightly. This will create a seamless appearance and provide a solid barrier against slips.
Future-Proofing Your Home with Non-Slip Tiles
Investing in non-slip tiles is not just a smart choice for immediate safety; it’s an investment in the long-term accessibility of your home. With an aging population and an increasing number of homeowners seeking to create safer environments, the demand for non-slip tiles continues to rise.
Beyond aesthetic and functional benefits, installing non-slip tiles can also increase your home's value. Prospective buyers often look for properties that prioritize safety features, and non-slip flooring can serve as a strong selling point.
Conclusion and Call to Action
Non-slip tile installation is not just a DIY job; it’s a pathway to creating a safer, more beautiful living space. By choosing the right materials and following our comprehensive guide, you can enhance both safety and style in your home. Don't hesitate—start your DIY project today and see how non-slip tiles can make your home a slip-resistant haven.


Write A Comment